
Welding methods
Extrusion welding: strong joints in thick-walled material
When the pipe wall is thick, or the joint requires extra strength, new material is melted into the weld seam using a handheld extruder (extrusion welding).
See all welding methods in the overview
Why an extruder?
An extruder is a small handheld extrusion welding gun that melts welding rod or a welding bead and extrudes the molten material into the prepared weld seam. Simultaneously, the base material is preheated with hot air so that the two plastics fuse together. In English, the method is called extrusion welding.
The method produces joints with strong mechanical properties and is typically used on thick-walled PE, PP, and PVC pipes, in tank construction, floor and wall linings (geomembranes), as well as for repairs.
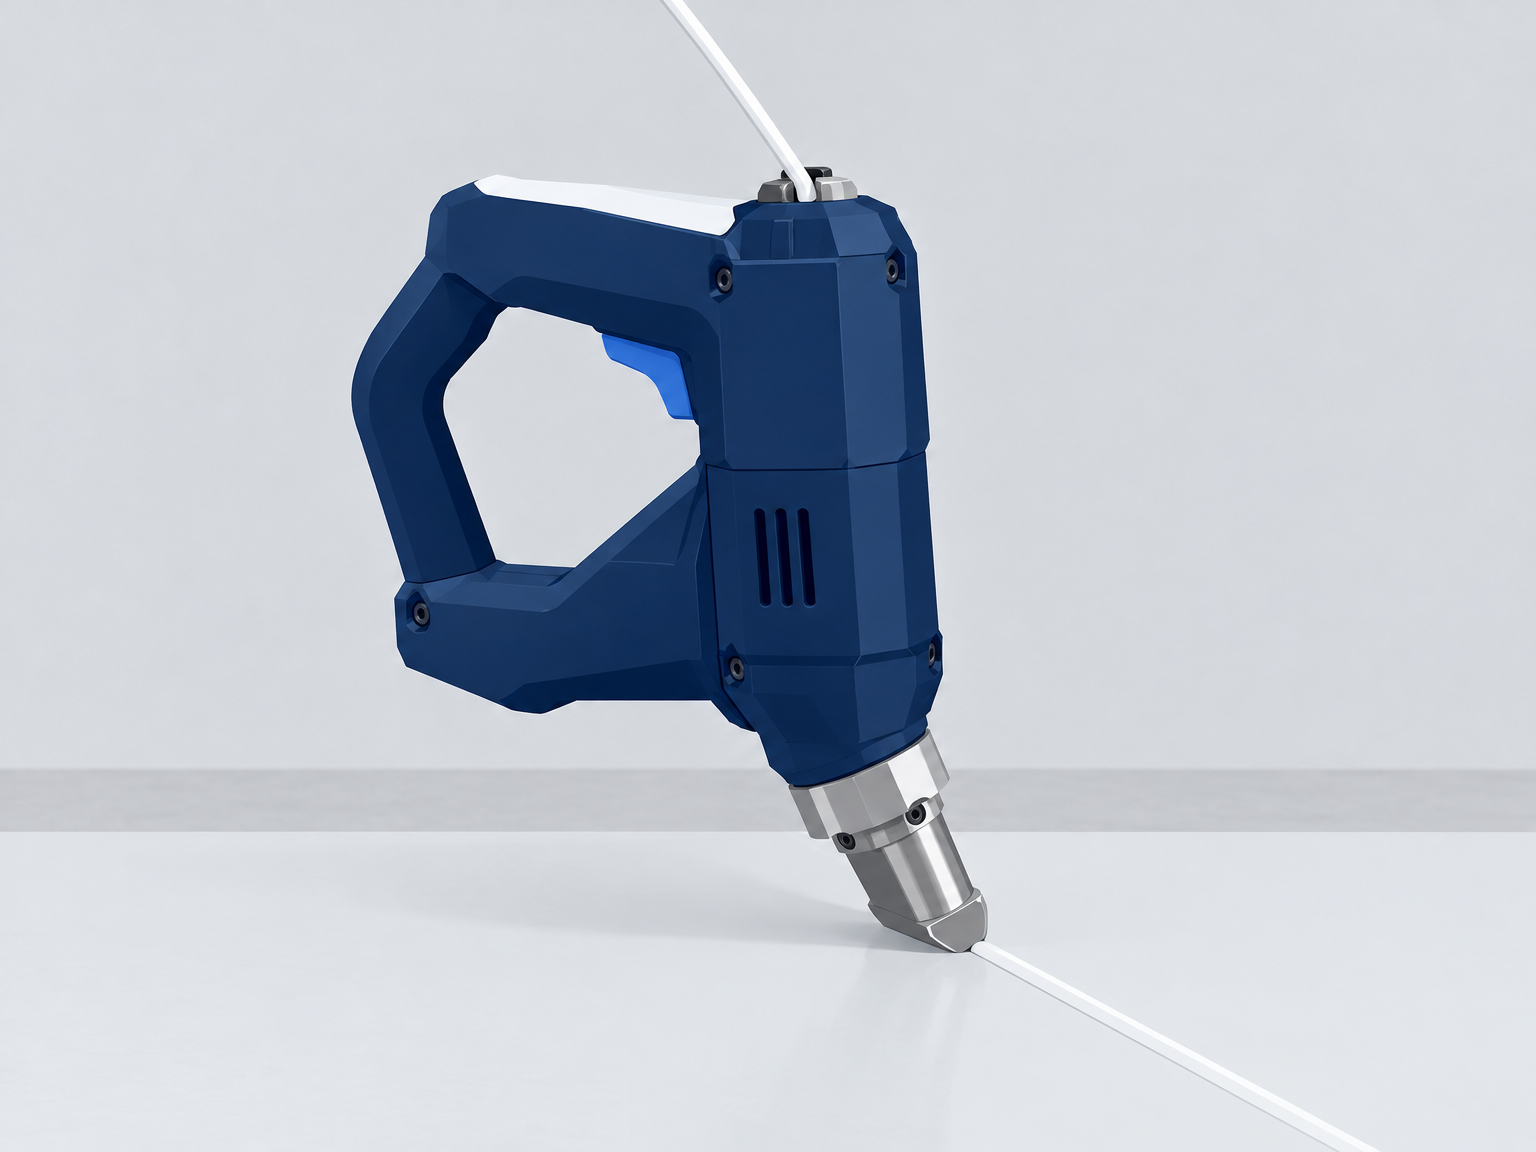
Good craftsmanship requires preparation
The seam is milled or filed into a V-shape (chamfer), deburred, and cleaned, e.g., with cleaning alcohol. The base material is preheated evenly with the hot air nozzle while the extruder fills the seam in one continuous motion without stopping. Stopping in the seam creates a cold zone and a weak joint.
Choose the extruder according to the task: smaller machines for repairs and details, larger ones for thick-walled pipes and tanks. The nozzles can be changed so the seam is filled in a single layer with a single pass.
Preparation accounts for half the work
Extrusion welding melts new material into a groove, but only bonds to a clean and warm substrate. Therefore, the groove and cleaning are more important than speed: a groove with an oxide layer, dust, or grease provides no bonding, no matter how neat the seam looks afterwards.
For thick-walled components, a groove is cut or milled to allow space for the melt and for guiding the nozzle. The width of the groove must match the seam, and the groove must be smooth and free of edges where air can be trapped.
For overlap seams on sheets and geomembranes, the overlap width and the substrate determine the result: too little overlap produces a weak seam, and too much creates stresses that distort the seam as the material cools.
Material and temperature
The welding rod must always match the base material: PE rod for PE, PP rod for PP. The wrong material combination results in a joint that can crack under load.
The working method, temperature, and feed rate are closely linked. Practice on scrap before undertaking actual tasks, or participate in one of the training courses offered by suppliers and Holm & Holm.
The preheating nozzle must match the width of the seam
The preheating air is delivered through a nozzle located directly in front of the melt opening. The nozzle must cover the width of the seam and provide uniform, intense preheating—a narrow nozzle on a wide seam results in cold edges, while a wide nozzle on a narrow seam burns the material.
The nozzle is secured with a set screw and must be checked before work begins. If it is crooked, the preheating will be uneven and the seam one-sided—this is one of the faults that is hardest to detect immediately.
When switching between materials, change the nozzle and rod together and verify that the feed roller matches the rod diameter.
Guidance and speed
The extruder is guided at a fixed distance and steady speed so that the melt is distributed evenly. Too fast a feed rate results in insufficient material and cold edges; too slow a feed rate causes overheating and bubbles. The correct speed is determined by producing a test seam on the same material and thickness.
Hold the nozzle at the angle intended for the equipment, and do not let the machine rest on the seam. The weight of the machine must be supported by the hand or the designated stand, otherwise the distance into the seam will vary.
Weld in continuous runs wherever possible. Each stop creates a cold joint, which subsequently becomes a weak point.
How to inspect the seam
A good seam is uniform, free of pores, and without a visible boundary between old and new material. The surface should not be glossy and glassy—this is a sign of overheating—and there must be no dark spots or burnt edges.
Check the edge: a seam that delaminates at the edge has received insufficient preheating or insufficient material. Tap the seam lightly with a blunt tool; a hollow sound may indicate trapped air underneath.
For documented projects, a test coupon is made on a piece of the same material and retained alongside the logbook. A coupon that fails in a ductile manner during a bend test is a good sign; a brittle failure points to overheating or incorrect material.
Typical faults and their causes
Seam without bonding: oxide layer or moisture on the substrate, insufficient preheating, incorrect nozzle. Bubbles and dark spots: excessively high melt temperature or too slow a feed rate. Narrow seam with cold edges: preheating nozzle too narrow or feed rate too fast. Seam pulling loose: incorrect material in the rod relative to the component.
Moisture is the most overlooked cause. A damp substrate generates steam that gets trapped inside the seam, compromising its strength regardless of temperature. Wipe the component dry, and work in shelter or inside a tent during rainy weather.
See also materials and welding rod for extrusion and extruders: capacity and sizes.
Quality assurance and data logging
Extrusion seams are quality assured differently than machine-welded joints: The process is operator-controlled, meaning documentation relies on in-process inspections. Modern extruders monitor material melt temperatures and feature startup protection that prevents welding with a cold rod or cold nozzle, but the welder remains responsible for recording preparation, preheating, and feed rate.
The practical quality program consists of three parts: First, a test seam in the same material and thickness before welding the main seam. Second, visual inspection: The seam must feature a uniform bead without burn marks, cold zones, or voids at the start and stop of the seam. Third, functional testing of critical linings, e.g., using a vacuum box or spark test to detect leaks in the seam.
Documentation for extrusion seams typically includes the date, area of the installation, material types and batch numbers, extruder and nozzle, set temperatures, and the welder's name. Recording this in a schedule or documentation software as you go ensures you have a complete quality dossier ready when the client arrives for inspection. Read the guide on data logging and quality assurance for the complete documentation chain.
Extrusion welding is used for repairs, tie-ins, and joints where a groove needs to be filled—not as a replacement for an actual pipe joint. When joining two pipes or a fitting of small diameter, socket fusion / socket-spigot welding is the correct method.
PVC-U can also be extrusion welded in accordance with DVS 2207-4 when the welding rod or bead is made of PVC-U. The material requires lower process temperatures and effective extraction because PVC releases hydrogen chloride (HCl) when overheated—see materials and welding rod for extrusion. If PVC pipes are to be butt welded instead, the narrow temperature window specified in butt welding of PVC applies.
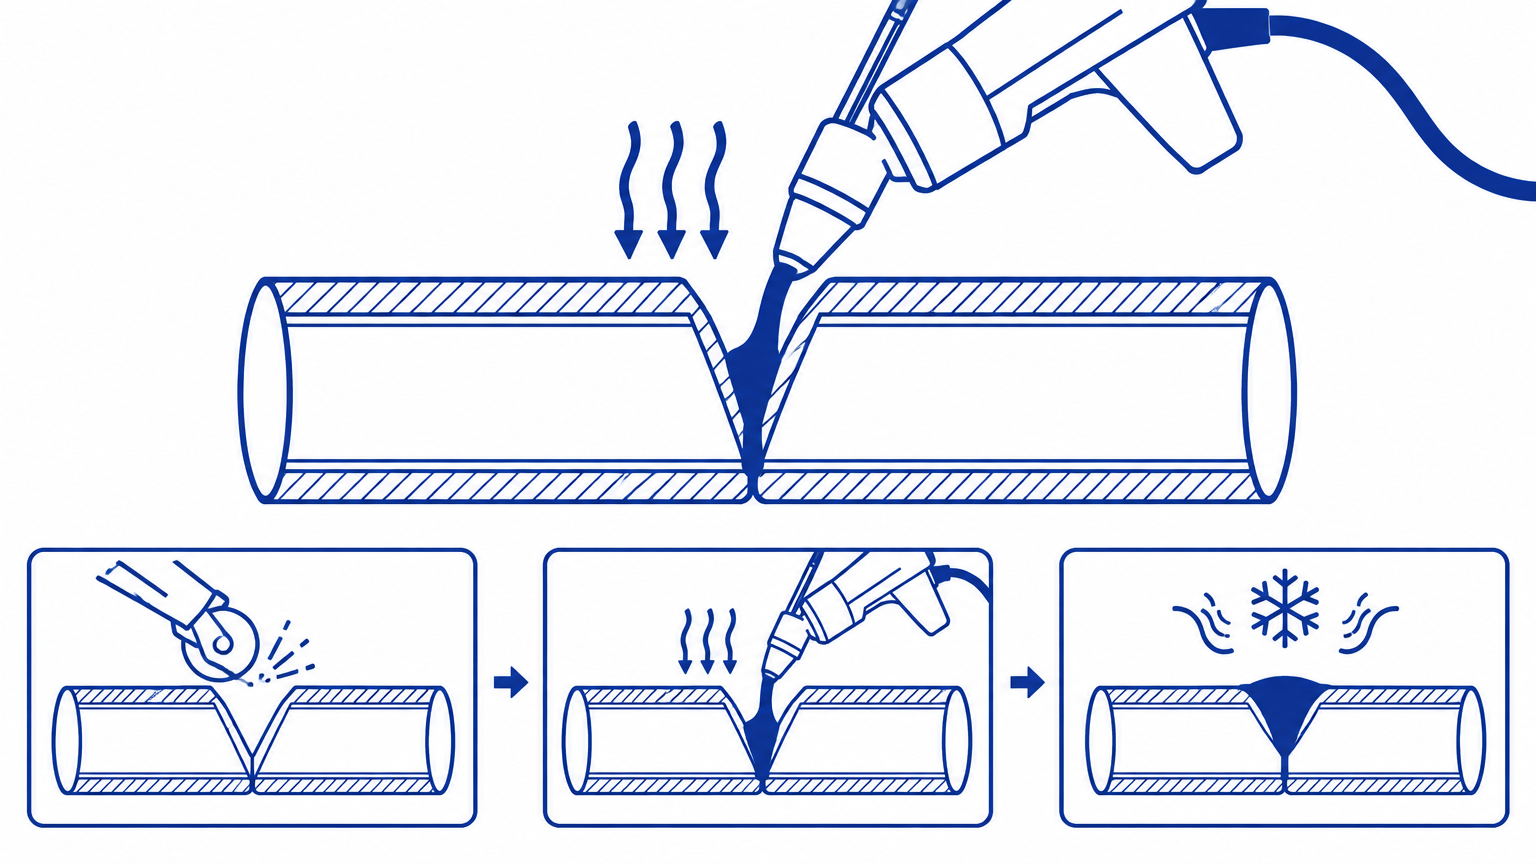
Checklist: start-up and inspection
Repair, connection and thick-walled components. Welding wire of the same material.
Before startup
- The welding wire is of the same material as the base material.
- Groove or overlap is prepared, cleaned and dry.
- The extruder is cleaned, the nozzle is clean, and the temperatures are set according to the manufacturer's table.
- The preheating nozzle is functioning, and the air supply is dry.
First weld seam (test)
- Test weld on scrap shows complete fusion.
- Wire and base material fuse together without pores or cold zones.
During welding
- Smooth travel and constant angle throughout the seam, without stopping.
- The wire feed matches consumption so the seam does not become hollow or overfilled.
After the weld
- The seam has been visually inspected for pores, folds and burnt areas.
- Testing or trepanning has been performed where required by the contract.
- Screw and nozzle are cleaned before the machine is stored away.